13 KiB
Executable File
Changemaker V5
Changemaker V5 is a battle-tested, lightweight, self-hosted productivity suite which empowers you to deploy secure, locally-built websites, blogs, newsletters, & forms – from personal projects to full-fledged campaigns – granting you complete control, inherent security, and true freedom of speech.
It is a project undertaken by The Bunker Operations, headquarted in Edmonton, Alberta, Canada, as to provide our community a digital campaign alternative to mainstream American systems.
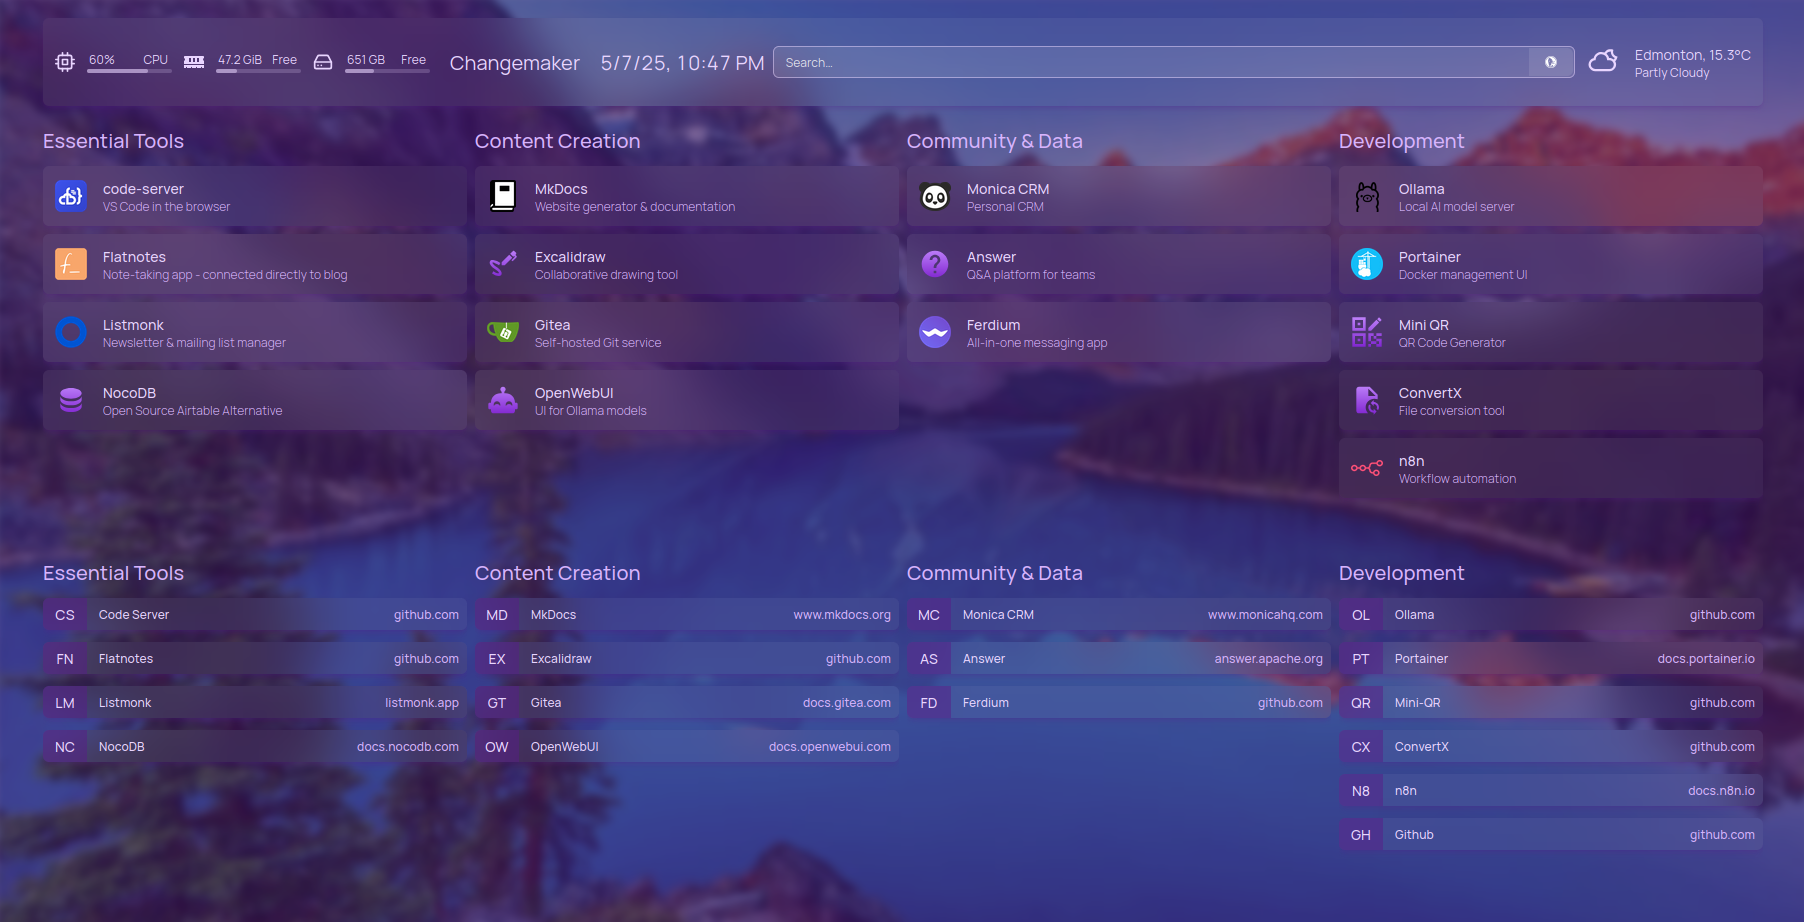
Currated Suite of Applications
Contents
- Prerequisites
- Quick Start
- Detailed Installation
- Local Service Ports
- Cloudflare Tunnel Setup
- Reset Your Installation
- Accessing Your Services
- Troubleshooting
Development Pathway
Changemaker's identified wants for development:
- Internal integrations for assset management i.e. shared plain file locations
- Database connections for automation systems i.e. manauls for Nocodb & n8n on connecting services
- Manual & landing site for the whole system i.e. upgrading bnkops.com
- Trainings and manuals across the board
Idenitfied Feature Requests:
- Event Management: Looking at hi.ewvents
- Scheduling: Looking at rally
- Support and user chat: looking at chatwoot
- Mass community chat: looking at thelounge
- Team chat and project management: looking at rocket chat ✔️
Bugs:
- Readme needs a full flow redo - ✅ next up
- Config script needs to be updated for nocodb for a simpler string / set the string - ✅
- Gitea DNS application access bypass not properly setting - ✅ bypass needing manual setup / need to explore api more
- Portainer not serving to http - 🟡 still not sure how to fix config
- nocodb setup upping odd - ✅ password needs no special characters
- ferdium port mismatch - ✅ was a cloudflare port setting missmatch
Prerequisites
- A Linux server (Ubuntu 22.04/24.04 recommended)
- Docker & Docker Compose
- Internet connection
- (Optional) Root or sudo access
- (Optional) A domain name for remote access
- (Optional) Cloudflare account for tunnel setup
Quick Start for Local Dev
Review all off the applications here
If you're familiar with Docker and want to get started quickly:
# Clone the repository
git clone https://gitea.bnkhome.org/bnkops/Changemaker.git
cd changemaker
# Use default configuration for development or run the config script for configuration
# To optionally configure, first make the script executable:
chmod +x config.sh

# Then run the configuration script:
./config.sh
# Start all services
docker compose up -d
[!Warning] Configure Portainer & Install Gitea
Portainer has a timed build process. Make sure to immediatly configure the service by visiting https://localhost:9444
Gitea has a install process that you should complete on first build.
First time installation can take several miniutes
On a 1GB internet connection, instal time is approximately 3 minutes.
Local Service Ports
When running Changemaker locally, you can access the services at the following ports on your server:
| Service | Local Port | Local URL |
|---|---|---|
| Homepage | 3010 | http://localhost:3010 |
| Excalidraw | 3333 | http://localhost:3333 |
| Listmonk | 9000 | http://localhost:9000 |
| Monica CRM | 8085 | http://localhost:8085 |
| MkDocs | 4000 | http://localhost:4000 |
| Flatnotes | 8089 | http://localhost:8089 |
| Code Server | 8888 | http://localhost:8888 |
| Ollama | 11435 | http://localhost:11435 |
| OpenWebUI | 3005 | http://localhost:3005 |
| Gitea | 3030 | http://localhost:3030 |
| Portainer | 8005 | http://localhost:8005 |
| Mini QR | 8081 | http://localhost:8081 |
| Ferdium | 3006 | http://localhost:3006 |
| Answer | 9080 | http://localhost:9080 |
| NocoDB | 8090 | http://localhost:8090 |
| n8n | 5678 | https://localhost:5678 |
| ConvertX | 3100 | http://localhost:3100 |
| Rocket.Chat | 3004 | http://localhost:3004 |
Detailed Installation
Ubuntu OS & Build Outs
You can deploy Changemaker on any OS using Docker however we also provide several full Ubuntu build-outs. These scripts can speed up your deployment immensely and Changemaker is developed on a like system:
- build.server - this build-out is a lightweight deployment aimed for dedicated server machines. It is focused on entry level users who would build on a dedicated machine.
- build.homelab - this build-out is full-some development focused build-out that The Bunker Operations uses for our day-to-day operations.
Configuration and services scripts for futher developing the system can be found at the scripts repo.
1. Install Docker and Docker Compose
Install Docker and Docker Compose on your system if they're not already installed:
Install Docker & Docker Compose
Verify that Docker and Docker Compose are installed correctly:
docker --version
docker compose version
2. Clone the Repository
git clone https://github.com/your-org/changemaker-v5.git
cd changemaker-v5
2. Configure Your Environment
Setting Up Cloudflare Credentials
To use the script, you'll need to collect several Cloudflare variables:
-
Create an API Token with appropriate permissions:
- Go to your Cloudflare Dashboard → Profile → API Tokens
- Click "Create Token"
- Either use the "Edit zone DNS" template or create a custom token with:
- Zone:DNS:Edit permissions
- Access:Apps:Edit permissions
- Restrict the token to only your specific zone/domain
- Generate and copy the token
-
Get your Zone ID:
- Go to your domain's overview page in the Cloudflare dashboard
- The Zone ID is displayed on the right sidebar
- It looks like:
023e105f4ecef8ad9ca31a8372d0c353
-
Get your Tunnel ID:
- You should have noted your tunnel id in your tunnel creation or you can find it through cloudflare or in your files:
- Go to Cloudflare Zero Trust dashboard → Access → Tunnels
- Click on your tunnel
- The Tunnel ID is in the URL:
https://dash.teams.cloudflare.com/xxx/network/tunnels/xxxx - It looks like:
6ff42ae2-765d-4adf-8112-31c55c1551ef
You have two options:
Option A: Use the configuration wizard (recommended)
# Make the script executable
chmod +x config.sh

# Run the configuration wizard
./config.sh
Option B: Configure manually
# Edit the .env file with your settings
nano .env
4. Start the Services
# Pull and start all containers in detached mode
docker compose up -d
[!Warning] Configure Portainer
Portainer has a timed build process. Make sure to immediatly configure the service at https://localhost:9444 following successful build.
All services can now be accessed through on local machine. If deploying to public, it is recommended to configure portainer and then continue configuration for all other services once tunnel is established. Then use the public links for configuration of services. For online deployment with Cloudflare, continue to next steps.
4. Cloudflare Tunnel Setup
For secure remote access to your services, you can set up a Cloudflare Tunnel.
Install Cloudflared on Ubuntu 24.04
Cloudflared Installation Guide
Configure Your Cloudflare Tunnel
You can use our Cloudflare Configuration Guide however remember to copy the values of the example config for this deployment.
Create a Cloudflare System Service
Cloudflare Service Setup Guide
Add CNAME Records
After setting up your Cloudflare Tunnel, you need to add CNAME records for your services. You can do this manually in the Cloudflare DNS panel or with using the following script: add-cname-records.sh
# Make the script executable
chmod +x add-cname-records.sh

# Run the script to add CNAME records
./add-cname-records.sh
This script will add CNAME records for all Changemaker services to your Cloudflare DNS.
It will also set up a Cloudflare Access Application for all services execpt for your website and gitea. This is a extra layer of security that we do recommend for your deployment. It will automatically allow any emails with from the root domain that you set in the config.sh process. For example, if you set your root domain to example.com your access rule will allow emails ending with @example.com thorugh. You can update your access settings in the Cloudflare Zero Trust dashboard.
[!warning] Cloudflare Zero Trust To ensure that system is secure, we highly recommend setting up some level of access control using Cloudflare Zero Trust. The
add-cname-records.shwill do this automatically however the user is encouraged to familiarize themselves with Cloudflares Zero Trust access system.
Accessing Your Services
The Homepage acts as a central dashboard for all your Changemaker services. You can access it at:
- Locally: http://localhost:3010 or http://your-server-ip:3010
- With Cloudflare: https://homepage.yourdomain.com
The Homepage will display links to all your deployed services, making it easy to navigate your Changemaker ecosystem.
After installation and cloudflare deployment you can also access individual services at the following URLs:
- Homepage: https://homepage.yourdomain.com
- Excalidraw: https://excalidraw.yourdomain.com
- Listmonk: https://listmonk.yourdomain.com
- Monica CRM: https://monica.yourdomain.com
- MkDocs: https://yourdomain.com
- Flatnotes: https://flatnotes.yourdomain.com
- Code Server: https://code-server.yourdomain.com
- Ollama: https://ollama.yourdomain.com
- OpenWebUI: https://open-web-ui.yourdomain.com
- Gitea: https://gitea.yourdomain.com
- Portainer: https://portainer.yourdomain.com
- Mini QR: https://mini-qr.yourdomain.com
- Ferdium: https://ferdium.yourdomain.com
- Answer: https://answer.yourdomain.com
- NocoDB: https://nocodb.yourdomain.com
- n8n: https://n8n.yourdomain.com
- ConvertX: https://convertx.yourdomain.com
- Rocket.Chat: https://rocket.yourdomain.com
Troubleshooting
If you encounter issues:
-
Check the Docker logs:
docker compose logs -
Verify service status:
docker compose ps -
Ensure your Cloudflare Tunnel is running:
sudo systemctl status cloudflared -
Check CNAME records in your Cloudflare dashboard.
For additional help, please file an issue on our GitHub repository.